
Picture yourself in a rustic Italian bakery, the air thick with the aroma of freshly baked bread. Among the golden loaves, one stands out with its irregular, slipper-like shape and crackling crust—this is ciabatta, Italy’s answer to the French baguette and a testament to Italian baking ingenuity. Born in 1982 from the collaborative genius of baker Francesco Favaron and miller Arnaldo Cavallari, ciabatta was created specifically to reclaim Italy’s bread sovereignty from the growing popularity of French baguettes.
What makes this ciabatta recipe special is its commitment to authentic Italian techniques while being accessible for home bakers. We use a traditional biga (overnight starter) that develops incredible flavor complexity and creates those signature irregular holes that make ciabatta perfect for trapping olive oil and sandwich fillings. The result is a bread with a shatteringly crisp crust, an open and tender crumb, and a subtle nutty flavor that can only come from patient fermentation.
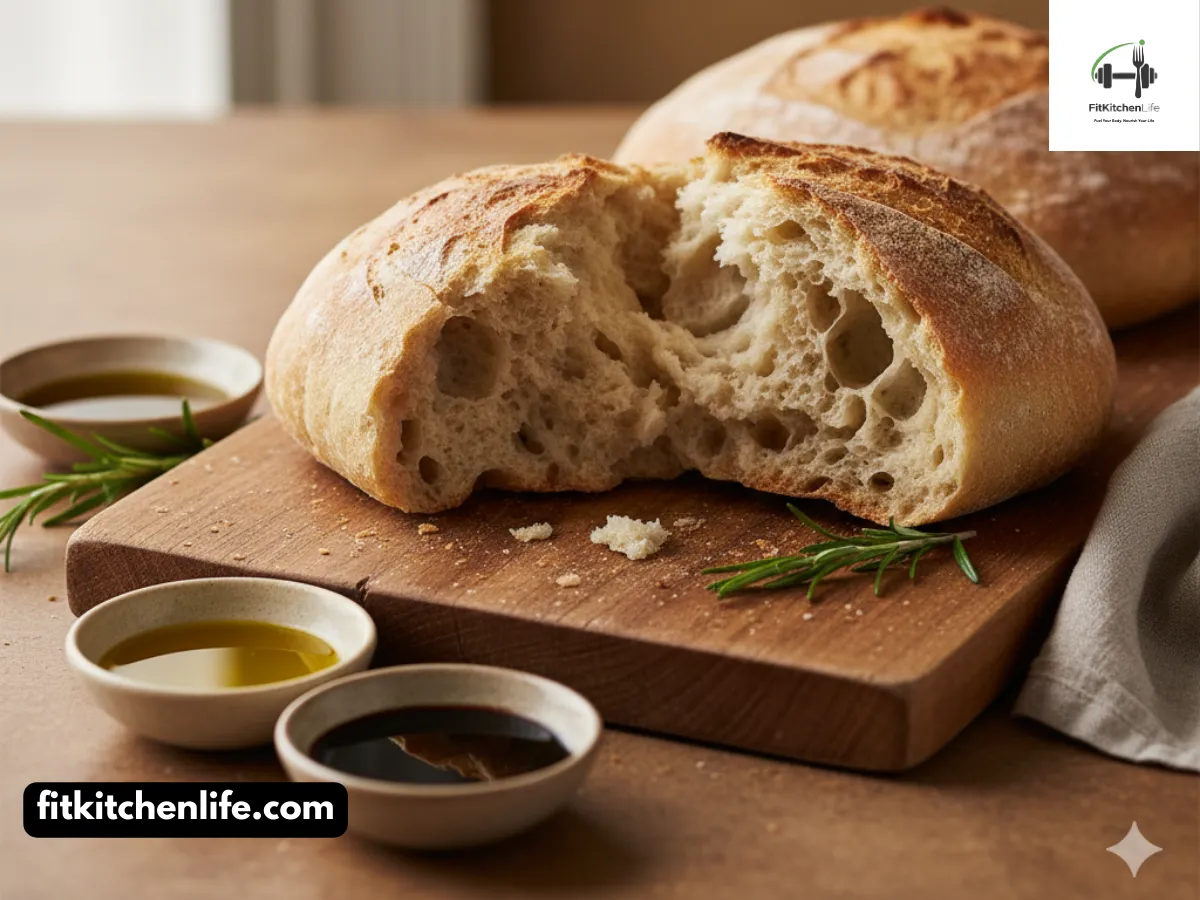
Imagine tearing into a warm loaf, hearing that satisfying crackle of the crust giving way to reveal the airy, hole-filled interior. This isn’t just bread—it’s a connection to modern Italian culinary history, right in your own kitchen. Whether you’re making panini, bruschetta, or simply enjoying it with olive oil, this ciabatta will transport you to the streets of Italy with every bite.
Table of Contents
ToggleIngredients
For the Biga (Overnight Starter)
- 165g plain white flour (approximately 1⅓ cups)
- ¼ teaspoon (1g) instant yeast or active dry yeast
- 130ml lukewarm water (approximately ½ cup + 1 tablespoon)
For the Ciabatta Dough
- 250g strong white bread flour (approximately 2 cups), plus extra for dusting
- ½ teaspoon (2g) instant yeast or active dry yeast
- 35ml warm milk (approximately 2 tablespoons)
- 1 tablespoon (15ml) extra virgin olive oil
- 160ml lukewarm water (approximately ⅔ cup)
- 1 heaped teaspoon (7g) fine sea salt
- Additional flour for dusting work surface
Yield: 2 large ciabatta loaves (approximately 20cm x 20cm each) Serving Size: 1 slice (approximately 57g) Servings: 16-20 slices total
Ingredient Notes & Substitutions
- Flour Selection: The combination of plain flour in the biga and strong bread flour in the final dough creates the perfect protein balance for ciabatta’s signature texture. For a whole grain version, substitute up to 20% of the bread flour with whole wheat flour, but expect a denser crumb.
- Yeast: Instant yeast works best, but active dry yeast can be used—just dissolve it in the warm milk first.
- Milk: The small amount of milk enhances browning and adds subtle flavor. For a dairy-free version, substitute with an equal amount of water.
- Olive Oil: Use extra virgin olive oil for the best flavor. This small amount adds richness and helps create a tender crumb.
- Salt: Fine sea salt dissolves more evenly than coarse salt. Reduce to ¾ teaspoon if following a low-sodium diet.
Cost Estimate: $2-3 for all ingredients, making each large loaf approximately $1-1.50.
Instructions/Steps
Making the Biga (Day 1, Evening)
- Activate the yeast: In a small bowl, stir the yeast into 50ml of the lukewarm water. Let stand for 10 minutes until the mixture becomes slightly frothy, indicating the yeast is active.
- Mix the biga: Add the remaining 80ml water to the yeast mixture, then gradually add the plain flour. Stir with a wooden spoon or in a stand mixer on its lowest setting until you have a thick, sticky batter with no dry flour remaining.
- Ferment overnight: Transfer the biga to a lightly oiled bowl, cover tightly with plastic wrap or a lid, and let it rest at room temperature (20-22°C/68-72°F) for 12-16 hours overnight. The biga should bubble, rise, and then collapse slightly, developing a pleasant yeasty aroma.
Preparing the Dough (Day 2, Morning)
-
Activate the second yeast: In another small bowl, combine the ½ teaspoon yeast with warm milk and let stand for 10 minutes until frothy.
-
Combine wet ingredients: In the bowl of a stand mixer fitted with a dough hook, combine the yeast-milk mixture with 160ml water, the entire biga, and olive oil. Mix on low speed until just combined.
-
Add dry ingredients: Add the strong bread flour and salt to the mixer. Mix on low speed for 10 minutes until the dough is smooth and elastic. Don’t worry if it looks very wet—this high hydration (around 78%) is essential for creating ciabatta’s characteristic open crumb.
Pro Tip: If kneading by hand, use the “stretch and fold” method: wet your hands, lift the dough from one side, stretch it up, and fold it over the center. Rotate the bowl 90 degrees and repeat. Do this for 10-15 minutes until the dough becomes smoother and more elastic.
First Fermentation and Folding
- Bulk fermentation: Transfer the dough to a well-oiled bowl, cover with plastic wrap, and let it rise in a warm, draft-free place for 1½ hours, or until doubled in size.
- First fold series: After the first rise, perform a series of folds. Using wet hands or a dough scraper, lift the dough from one edge, stretch it upward, and fold it over the center. Turn the bowl 90 degrees and repeat. Continue until you’ve completed 8 folds total (two full rotations around the bowl).
- Rest and repeat: Let the dough rest for 30 minutes, then repeat the entire folding process once more. This builds strength in the wet dough and develops the gluten structure necessary for those signature irregular holes.
Shaping the Ciabatta
- Prepare workspace: Heat your oven to 220°C (425°F) with a baking sheet inside. Generously flour your work surface—this dough is very sticky and needs plenty of flour to handle.
- Divide the dough: Gently turn the dough out onto the floured surface. It will spread like a batter—this is normal! Using a bench scraper or knife, divide it in half to create two equal pieces.
- Shape into squares: Working with one piece at a time, gently coax the dough into a rough square shape approximately 20cm x 20cm. Don’t worry if it’s not perfect—rustic is beautiful with ciabatta.
- Final fold: Fold each side of the square toward the center, as if folding a booklet. Then flip the dough over so the seam side is down. This creates tension on the surface while preserving the airy interior.
Pro Tip: Use plenty of flour on your hands and work surface. The dough should feel alive and slightly resistant—don’t overwork it or you’ll deflate those precious air bubbles.
Final Proofing and Baking
- Final proof: Carefully transfer each shaped loaf to a separate sheet of well-floured parchment paper. Cover with a floured kitchen towel and let rest for 30 minutes. The loaves may spread slightly—this is normal and desirable for ciabatta.
- Create steam: Place a small metal pan (not glass) on the lower rack of your oven while it preheats. You’ll add water to this later to create steam, which is crucial for developing a crisp crust.
- Bake: When ready to bake, carefully slide the loaves (still on their parchment paper) onto the hot baking sheet in the oven. Immediately pour ½ cup of water into the preheated pan on the lower rack to create steam, and quickly close the oven door.
- Bake to perfection: Bake for 35-40 minutes, rotating the pan halfway through, until the crust is deep golden brown and the loaves sound hollow when tapped on the bottom. The internal temperature should reach 95-98°C (203-208°F).
Pro Tip: For an extra-crispy crust, remove the loaves from the parchment paper for the final 5 minutes of baking and place them directly on the oven rack.
- Cool completely: Transfer the baked ciabatta to a wire rack and let cool for at least 1 hour before slicing. This crucial step allows the interior structure to set properly and prevents the bread from becoming gummy.
Recipe Info Box
|
Prep Time
|
30 minutes (plus 12-16 hours overnight)
|
|---|---|
| Cook Time | 35-40 minutes |
| Total Time | Approximately 14 hours (mostly inactive) |
| Servings | 2 large loaves (16-20 slices) |
| Difficulty Level | Intermediate |
| Course | Bread, Side Dish |
| Cuisine Style | Italian, European |
Nutrition Information
Per serving (1 slice, approximately 57g):
|
Nutrient
|
Amount
|
% Daily Value*
|
|---|---|---|
| Calories | 140 kcal | 7% |
| Protein | 5g | 10% |
| Carbohydrates | 29g | 10% |
| Fat | 0.5g | 1% |
| Fiber | 1g | 4% |
| Sugar | 0g | – |
| Sodium | 320mg | 14% |
| Potassium | 39.9mg | 1% |
| Calcium | 10.3mg | 1% |
Health Benefits:
- Complex carbohydrates provide sustained energy
- Low fat content makes it a heart-healthy choice
- Calcium content supports bone health
- Fiber content aids in digestion (can be increased by using whole grain flour)
- Olive oil provides monounsaturated fatty acids
Disclaimer: Nutrition values are estimates based on USDA data and may vary depending on specific ingredients and portion sizes. These values should not be used for medical nutrition therapy.
Tips/Variations/Notes
Ingredient Variations
- Whole Wheat Blend: Replace 20% of the white flour with whole wheat flour for added fiber and nutrients. Increase water by 2-3 tablespoons as whole wheat absorbs more liquid.
- Herb-Infused: Add 2 tablespoons of dried Italian herbs (rosemary, thyme, oregano) to the dry ingredients for a fragrant variation perfect for serving with soups and stews.
- Olives or Sun-Dried Tomatoes: After the first fold, gently fold in ½ cup of chopped olives or oil-packed sun-dried tomatoes for a flavorful variation.
- Sourdough Version: Replace the biga with an active sourdough starter (use 200g starter, reduce flour by 100g and water by 80g in the final dough).
Technique Improvements
- Cold Fermentation: For even better flavor development, after the first fermentation, place the dough in the refrigerator for 24-48 hours before shaping and final proofing.
- Steam Alternative: If you don’t have a metal pan for steam, place a pan of ice cubes in the bottom of the oven just before baking.
- Crispier Crust: For an extra-crispy crust, spray the loaves lightly with water twice during the first 10 minutes of baking.
Storage and Serving
- Freshness Preservation: Ciabatta is best eaten the day it’s made. To refresh day-old bread, sprinkle with water and heat in a 200°C (400°F) oven for 5-7 minutes.
- Freezing Instructions: Freeze completely cooled loaves in airtight bags for up to 3 months. Thaw at room temperature, then refresh in a hot oven for 5 minutes.
- Serving Suggestions: Serve with quality extra virgin olive oil and balsamic vinegar for dipping, or use as the base for authentic Italian panini sandwiches. Also excellent for bruschetta or crostini.
Troubleshooting
- Dense crumb: This usually indicates under-fermentation or over-handling. Ensure your biga is properly bubbly before using, and handle the dough gently during shaping to preserve air bubbles.
- Crust too soft: Increase oven temperature by 10-15°C (25-50°F) and ensure proper steam during the first 10 minutes of baking.
- Dough too sticky to handle: Use more flour on your work surface and hands, but avoid incorporating too much flour into the dough itself. Wet hands can also help handle sticky dough.
- No “holes” in the crumb: This could be from under-kneading or insufficient folding. Make sure to complete the full folding process and develop proper gluten strength.
Equipment Needed
Essential Tools
- Large mixing bowls (2-3 quart capacity)
- Kitchen scale (for accurate measurements)
- Stand mixer with dough hook attachment (highly recommended)
- Bench scraper (essential for handling wet dough)
- Baking sheets or baking stone
- Parchment paper
- Wire cooling racks
- Metal pan (for creating steam)
Nice-to-Have Extras
- Dough proofing baskets
- Kitchen thermometer (for checking water temperature)
- Spray bottle (for adding steam)
- Bread lame or sharp razor (for scoring, though ciabatta typically isn’t scored)
FAQs
Q: Can I make ciabatta without a stand mixer? A: Yes, but it requires more effort. Use the stretch-and-fold method by hand, wetting your hands to prevent sticking. It will take 15-20 minutes of folding to develop the gluten properly.
Q: Why is my ciabatta dough so wet and sticky? A: Authentic ciabatta has a high hydration level (around 75-80%), which is essential for creating the characteristic open crumb and irregular holes. This wet dough is normal and necessary—don’t be tempted to add too much flour.
Q: Can I use all-purpose flour instead of bread flour? A: You can, but the result will be different. Bread flour has higher protein content, which creates the chewy texture and structure ciabatta is known for. All-purpose flour will produce a softer, less chewy bread.
Q: How do I know when the ciabatta is done baking? A: Look for a deep golden brown color, and the loaves should sound hollow when tapped on the bottom. An instant-read thermometer inserted into the center should read 95-98°C (203-208°F).
Q: Can I make this recipe gluten-free? A: Traditional ciabatta relies heavily on gluten for its structure. While gluten-free versions exist, they require completely different ingredients and techniques and won’t produce the same result.
Q: How long does homemade ciabatta stay fresh? A: Ciabatta is best eaten within 4-6 hours of baking. After that, it begins to stale quickly. You can refresh it in the oven, but it won’t be quite the same as fresh-baked.
Q: Can I freeze the dough? A: Yes! Freeze after the first fermentation. Thaw overnight in the refrigerator, then proceed with shaping and final proofing. You may need to extend the proofing time slightly.
Q: Why does my ciabatta spread out instead of rising up? A: This is normal for ciabatta! Unlike many breads, ciabatta is meant to be flat and wide, like a slipper (which is what “ciabatta” means in Italian). The focus is on creating an open crumb rather than height.
Q: What’s the purpose of the biga? A: The biga (overnight starter) develops complex flavor and improves the bread’s texture. It creates a more open crumb structure and extends the bread’s freshness compared to bread made with commercial yeast alone.
Q: Can I make smaller ciabatta rolls instead of large loaves? A: Absolutely! Divide the dough into 6-8 smaller pieces after the first fermentation. Shape into smaller rectangles and reduce baking time to 20-25 minutes.
Recipe Story & Cultural Context
Unlike many Italian breads with centuries of history, ciabatta is a relatively modern creation, born in 1982 from a collaboration between baker Francesco Favaron and miller Arnaldo Cavallari in the Veneto region of Italy. This innovative bread was created specifically to compete with the growing popularity of French baguettes in Italian sandwich shops and bakeries.
The name “ciabatta” means “slipper” in Italian, referring to its characteristic flat, elongated shape that resembles a house slipper. This distinctive shape, combined with its open, hole-filled crumb structure, makes ciabatta perfect for sandwiches, as the irregular holes trap fillings and sauces beautifully.
What makes ciabatta particularly interesting is its role in Italian food politics. During the 1980s, French baguettes were becoming increasingly popular in Italy, threatening traditional Italian bread-making. Cavallari, a flour miller concerned about this trend, worked with Favaron to create an Italian alternative that could be used similarly to baguettes but remained authentically Italian.
The creation was so successful that Cavallari licensed the recipe to bakers throughout Italy and eventually internationally. This licensing approach helped maintain quality standards while allowing ciabatta to become a global phenomenon. Today, ciabatta is enjoyed worldwide, often as the bread of choice for panini sandwiches.
Regional variations exist throughout Italy. In some areas, ciabatta is made with a higher percentage of whole wheat flour, while others incorporate local ingredients like olives or herbs. The version from Verona, where it was first created, is considered the most traditional, with its high hydration and signature open crumb.
In 2022, Italian bread-making traditions, including ciabatta, gained additional recognition as UNESCO highlighted the importance of traditional baking techniques as part of the Intangible Cultural Heritage of Humanity. This recognition celebrates not just the bread itself, but the skills, knowledge, and traditions passed down through generations of Italian bakers.
Pairing Suggestions
Classic Italian Pairings
- Antipasto: Serve with a selection of cured meats, cheeses, olives, and marinated vegetables
- Soups: Perfect for dipping into minestrone, ribollita, or other hearty Italian soups
- Bruschetta: Toast slices and top with diced tomatoes, garlic, and fresh basil
- Panini: Use as the base for classic Italian sandwiches with mozzarella, tomatoes, and basil
Beverage Pairings
- Wine: A crisp Italian white wine like Pinot Grigio or a light red like Chianti
- Coffee: A strong espresso or cappuccino for breakfast
- Beer: A light Italian lager or pilsner
- Non-alcoholic: Sparkling water with lemon or Italian sodas
Seasonal Adaptations
- Spring: Serve with fresh peas, mint, and ricotta spread
- Summer: Perfect for caprese sandwiches with fresh tomatoes, mozzarella, and basil
- Autumn: Pair with roasted vegetables, sage, and Parmesan
- Winter: Ideal for serving alongside hearty stews and braised dishes
Special Occasion Ideas
- Dinner parties: Serve as part of an Italian antipasto platter
- Holiday meals: Excellent for making stuffing or dressing
- Picnics: Makes perfect sandwiches that travel well
- Casual gatherings: Cut into crostini and top with various spreads and toppings
Conclusion
Mastering the art of ciabatta making is a journey into modern Italian baking tradition. Unlike ancient breads with centuries of history, ciabatta represents Italian innovation and culinary pride—a bread created specifically to celebrate Italian craftsmanship in the face of international competition.
What makes this ciabatta recipe special is its commitment to authentic Italian techniques while being accessible for home bakers. The traditional biga method develops incredible flavor complexity, the high hydration creates those signature irregular holes, and the gentle handling preserves the airy structure that makes ciabatta so perfect for sandwiches and dipping.
Whether you’re an experienced baker looking to expand your repertoire or a beginner ready to take on a rewarding challenge, this recipe will guide you through each step with clear instructions and professional tips. The result is bread that not only tastes amazing but also connects you to a fascinating piece of Italian culinary history.
We’d love to hear about your ciabatta baking adventures! Please leave a comment below sharing your experience, any variations you tried, or questions you might have. Don’t forget to rate the recipe and share photos of your beautiful creations on social media using the hashtags below.
Happy baking, and may your kitchen be filled with the irresistible aroma of freshly baked Italian ciabatta!