
Imagine the aroma of butter and vanilla wafting through your kitchen, followed by the sight of golden-brown loaves with a tender, cloud-like crumb. This is the magic of brioche—France’s most celebrated enriched bread that blurs the line between bread and pastry. Dating back to the 15th century, brioche has graced the tables of French nobility and become a staple in patisseries worldwide, beloved for its rich flavor and luxurious texture.
What makes this brioche recipe special is its perfect balance of tradition and technique. We use a time-tested method that incorporates butter gradually to create the signature flaky layers while maintaining proper gluten structure. The result is a bread that’s rich yet light, buttery but not greasy, with a golden crust and tender crumb that practically melts in your mouth.
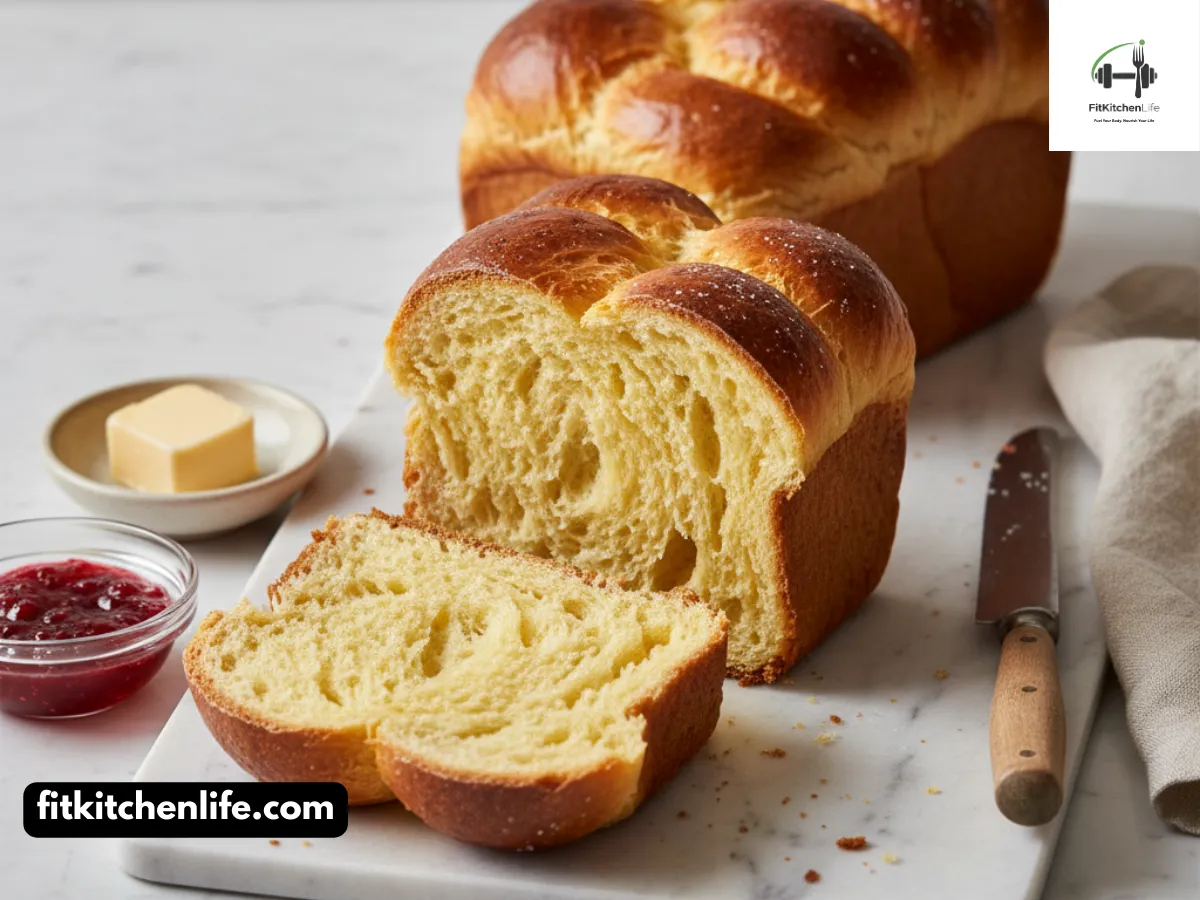
Picture slicing into a warm loaf to reveal the soft, yellow interior, then taking a bite that combines the subtle sweetness of eggs with the rich flavor of high-quality butter. This isn’t just bread—it’s a versatile culinary masterpiece that elevates everything from simple breakfast toast to gourmet sandwiches and decadent bread puddings.
Whether you’re an experienced baker looking to perfect your enriched bread skills or a adventurous beginner ready to take on a rewarding challenge, this recipe will guide you through each step with professional techniques that ensure success.
Table of Contents
ToggleIngredients
For the Brioche Dough
- 450g strong white bread flour (approximately 3½ cups), plus extra for dusting
- 2 teaspoons (12g) fine sea salt
- 50g (¼ cup) caster sugar
- 7g (2¼ teaspoons) instant yeast or active dry yeast
- 100ml (⅓ cup + 2 tablespoons) whole milk, warmed to body temperature
- 4 large eggs, at room temperature, plus 1 extra egg for egg wash
- 190g (⅔ cup + 2 tablespoons) unsalted butter, cubed and softened but still cool
Yield: 1 large loaf (900g) or 12 individual brioche rolls Serving Size: 1 slice (approximately 50g) Servings: 16-18 slices total
Ingredient Notes & Substitutions
- Flour Selection: Strong bread flour (12-14% protein) is essential for developing the gluten structure needed to support the rich ingredients. All-purpose flour can be used, but the texture will be slightly less structured.
- Butter Quality: Use high-quality unsalted butter with at least 82% fat content. European-style butter works best for its rich flavor and lower water content.
- Egg Temperature: Room temperature eggs incorporate more easily into the dough and help maintain proper dough temperature.
- Milk Alternative: Whole milk provides richness, but you can substitute with 2% milk or even water in a pinch, though the flavor will be less rich.
- Yeast Options: Instant yeast is preferred, but active dry yeast can be used—just dissolve it in the warm milk first.
Cost Estimate: $4-6 for all ingredients, making each large loaf approximately $4-6.
Instructions/Steps
Preparing the Dough Base
-
Combine dry ingredients: In the bowl of a stand mixer fitted with a dough hook, whisk together the flour, salt, and sugar until well combined. This ensures even distribution of ingredients.
Pro Tip: Place salt on one side of the bowl and yeast on the opposite side. Salt can inhibit yeast activity if they come into direct contact before mixing.
-
Activate yeast: Warm the milk to body temperature (37°C/98°F)—it should feel warm but not hot when tested on your wrist. Pour the warm milk into the flour mixture and mix on low speed until just combined.
-
Incorporate eggs: Add the 4 room temperature eggs one at a time, mixing on low speed until each is fully incorporated before adding the next. Continue mixing for 5-7 minutes until the dough is smooth and elastic.
Incorporating the Butter
-
Begin butter incorporation: Reduce the mixer speed to low. Add the softened butter cubes one or two at a time, waiting until each addition is fully incorporated before adding more. This gradual process is crucial for proper emulsification.
Pro Tip: The butter should be softened but still cool (around 18°C/65°F). If it’s too warm, it will melt into the dough and cause greasiness; if too cold, it won’t incorporate properly.
-
Develop the dough: Once all butter is incorporated, increase the mixer speed to medium and knead for 8-10 minutes. The dough will be very soft and sticky at first but will gradually become smoother and more elastic. It’s ready when it pulls away from the sides of the bowl and passes the windowpane test (a small piece can be stretched thin enough to see light through without tearing).
First Fermentation
-
Bulk fermentation: Scrape the dough into a lightly oiled large bowl, cover with plastic wrap or a damp kitchen towel, and let rise in a warm, draft-free place for 1½ to 2 hours, or until doubled in size.
Pro Tip: Ideal fermentation temperature is 24-26°C (75-80°F). If your kitchen is cooler, fermentation will take longer; if warmer, it will happen faster.
-
Chill the dough: Once doubled, cover the bowl and refrigerate for at least 1 hour (or up to overnight). This chilling period firms up the butter, making the dough easier to handle and shape.
Shaping the Brioche
- Prepare the pan: Line a 900g (2lb) loaf tin with parchment paper, or grease individual brioche molds if making rolls.
- Divide the dough: For a loaf, divide the dough into 7 equal pieces (about 130g each). For rolls, divide into 12 equal pieces (about 75g each).
- Shape the balls: Lightly dust your work surface with flour. Working with one piece at a time, gently stretch the dough and fold the edges toward the center to create a smooth surface. Cup your hand over the dough and move it in small circles to create surface tension and form a tight ball.
Pro Tip: Use minimal flour during shaping—too much flour can create dry spots on the finished brioche.
- Arrange in pan: Place the dough balls in the prepared pan, arranging them in a pattern of four on one side and three nestled in the gaps on the other side. For rolls, place one ball in each mold.
Final Proofing and Baking
- Final proof: Cover the pan loosely with plastic wrap or a damp kitchen towel and let rise in a warm place for 30-35 minutes, or until the dough has nearly doubled and looks puffy.
Pro Tip: The dough is ready when it springs back slowly when gently pressed with a fingertip. If it springs back immediately, it needs more time; if it doesn’t spring back at all, it’s over-proofed.
- Preheat oven: About 20 minutes before baking, preheat your oven to 180°C (350°F) for a loaf or 190°C (375°F) for rolls.
- Apply egg wash: In a small bowl, whisk the remaining egg with 1 teaspoon of water. Gently brush the egg wash over the top of the brioche, being careful not to deflate the dough.
- Bake: Place the pan in the preheated oven. Bake for 30-35 minutes for a loaf or 15-20 minutes for rolls. The brioche is done when it’s deep golden brown and sounds hollow when tapped on the bottom. An instant-read thermometer inserted into the center should read 88-93°C (190-200°F).
Pro Tip: If the brioche is browning too quickly, tent it loosely with aluminum foil for the last 10-15 minutes of baking.
- Cool completely: Remove the brioche from the oven and let cool in the pan for 20 minutes. Then turn out onto a wire rack and cool completely before slicing. This crucial step allows the crumb structure to set properly.
Recipe Info Box
|
Prep Time
|
40 minutes
|
|---|---|
| Cook Time | 30-35 minutes |
| Total Time | 3-4 hours (including rising and chilling time) |
| Servings | 1 large loaf (16-18 slices) |
| Difficulty Level | Intermediate |
| Course | Bread, Breakfast, Dessert |
| Cuisine Style | French, European |
Nutrition Information
Per serving (1 slice, approximately 50g):
|
Nutrient
|
Amount
|
% Daily Value*
|
|---|---|---|
| Calories | 145 kcal | 7% |
| Protein | 4g | 8% |
| Carbohydrates | 20g | 7% |
| Fat | 6g | 9% |
| Fiber | 1g | 4% |
| Sugar | 3g | – |
| Sodium | 200mg | 9% |
| Thiamin | 0.4mg | 33% |
| Folic Acid | 35mcg | 9% |
| Iron | 1mg | 6% |
Health Benefits:
- Rich in B vitamins from enriched flour and eggs, supporting energy metabolism
- High-quality protein from eggs and milk for muscle maintenance
- Calcium content from milk and butter for bone health
- Energy-dense making it excellent for active individuals and athletes
- Versatile base that can be adapted for various nutritional needs
Disclaimer: Nutrition values are estimates based on USDA data and may vary depending on specific ingredients and portion sizes. These values should not be used for medical nutrition therapy.
Tips/Variations/Notes
Technique Improvements
- Temperature control: Keep ingredients cool until mixing. The dough should not exceed 24-26°C (75-80°F) during mixing to prevent butter from melting and causing greasiness.
- Butter incorporation: Adding butter gradually is crucial. If you add it all at once, the dough may break and become greasy. Take your time with this step.
- Windowpane test: To check if the dough is properly developed, stretch a small piece between your fingers. It should be thin enough to see light through without tearing.
- Refrigeration benefits: Don’t skip the chilling step! Cold dough is much easier to handle and shape, and it develops better flavor.
Flavor Variations
- Chocolate chip brioche: After the first fermentation, gently fold in 150g of high-quality chocolate chips. Avoid over-mixing to prevent the chips from breaking up.
- Citrus brioche: Add the zest of 1 lemon and 1 orange along with the eggs for a bright, fresh flavor that pairs beautifully with butter.
- Spiced brioche: Add 1 teaspoon of ground cinnamon, ¼ teaspoon of nutmeg, and ⅛ teaspoon of cardamom to the dry ingredients for a warm, aromatic version perfect for breakfast.
- Dried fruit brioche: Soak 100g of raisins, currants, or chopped dried apricots in warm water or rum for 30 minutes, drain well, then fold in during shaping.
Shape Variations
- Brioche à tête (traditional shape): Divide the dough into two pieces—one twice as large as the other. Shape the larger piece into a ball and place in a brioche mold. Shape the smaller piece into a ball and place it on top. Press a finger through the center to attach.
- Braided brioche: Divide the dough into three equal pieces and roll each into a rope about 30cm long. Braid the ropes together and place in a loaf pan.
- Brioche rolls: Divide the dough into 12 equal pieces and shape into tight balls. Place in greased muffin tins or on a baking sheet.
Storage and Serving
- Freshness preservation: Brioche is best eaten within 2 days of baking. Store at room temperature in an airtight container or wrapped tightly in plastic wrap.
- Freezing instructions: Brioche freezes beautifully for up to 3 months. Wrap cooled loaves tightly in plastic wrap and aluminum foil. Thaw at room temperature or refresh in a 160°C (325°F) oven for 5-10 minutes.
- Serving suggestions: Excellent for French toast, bread pudding, or simply toasted with butter and jam. Also makes gourmet sandwiches and burger buns.
Troubleshooting
- Dense, heavy brioche: Usually caused by under-kneading or under-proofing. Make sure to develop the gluten properly and allow adequate rising time.
- Greasy texture: This indicates the butter melted during mixing or the dough was too warm. Ensure ingredients are cool and mixing time is adequate.
- Pale crust: The oven may not have been hot enough, or the brioche may have been under-baked. Use an oven thermometer to verify temperature and bake until deep golden brown.
- Tunneling or large holes: Often caused by over-proofing or rough handling during shaping. Be gentle when shaping and don’t let the dough rise too long.
Equipment Needed
Essential Tools
- Stand mixer with dough hook attachment (highly recommended)
- Large mixing bowls (for dough preparation)
- Kitchen scale (for accurate measurements)
- 900g (2lb) loaf tin or individual brioche molds
- Pastry brush (for egg wash)
- Wire cooling racks
- Plastic wrap or damp kitchen towels (for covering dough)
- Parchment paper
Nice-to-Have Extras
- Kitchen thermometer (for checking water and dough temperature)
- Bench scraper (for handling dough)
- Brioche molds (for traditional shaping)
- Dough scraper (for dividing dough)
- Instant-read thermometer (for checking doneness)
FAQs
Q: Can I make brioche without a stand mixer? A: While possible, it’s extremely difficult and not recommended for this recipe. The dough is very sticky and requires significant kneading time. If you must make it by hand, use the stretch-and-fold method in a cool bowl, but expect a longer and more challenging process.
Q: Why does my brioche taste greasy? A: Greasiness usually indicates that the butter melted during mixing rather than incorporating properly. Ensure your butter is softened but still cool (around 18°C/65°F), and add it gradually. Also, make sure your dough doesn’t get too warm during mixing.
Q: Can I use salted butter instead of unsalted? A: You can, but you’ll need to reduce the added salt in the recipe by about half. Salted butter also has a higher water content, which can affect the dough’s consistency. For best results, stick with unsalted butter.
Q: How do I know when the brioche is fully baked? A: Look for a deep golden brown color, and the brioche should sound hollow when tapped on the bottom. An instant-read thermometer inserted into the center should read 88-93°C (190-200°F). Under-baked brioche will be gummy in the center.
Q: Can I make the dough ahead of time? A: Absolutely! After the first fermentation, you can refrigerate the dough for up to 24 hours before shaping and baking. In fact, many bakers believe this extended cold fermentation improves the flavor.
Q: Why did my brioche collapse during baking? A: Collapse usually indicates over-proofing. The dough should rise until nearly doubled but not more. If it over-proofes, the gluten structure weakens and can’t support itself during baking.
Q: Can I freeze brioche dough? A: Yes, but it’s better to freeze the baked brioche. If you must freeze dough, do so after the first fermentation, before shaping. Thaw overnight in the refrigerator, then proceed with shaping and final proofing.
Q: What’s the difference between brioche and challah? A: While both are enriched breads, brioche contains significantly more butter and has a richer, more tender crumb. Challah typically uses oil instead of butter and has a chewier texture.
Q: Can I make this recipe gluten-free? A: Traditional brioche relies heavily on gluten for its structure. While gluten-free versions exist, they require completely different ingredients and techniques and won’t produce the same result.
Q: How long does homemade brioche stay fresh? A: Properly stored at room temperature, brioche stays fresh for 2-3 days. It can also be frozen for up to 3 months. Unlike many breads, brioche actually freezes quite well due to its high fat content.
Recipe Story & Cultural Context
Brioche represents the pinnacle of French enriched bread-making, a perfect marriage of bread and pastry that has captivated palates for centuries. The earliest recorded mention of brioche dates back to 1404, though its exact origins are debated. Some etymologists believe the name comes from the French words “bris” (to break) and “hocher” (to stir), while others suggest it originated in the Brie region of France.
Historically, brioche was a luxury item reserved for special occasions and the wealthy. Two distinct types were produced: the “rich man’s brioche” with a flour-to-butter ratio of 3:2, and the “pain brioche” with a more modest 4:1 ratio. The addition of generous amounts of butter not only enriched the flavor but also helped mask the taste of yeast or sourdough starters commonly used at the time.
Brioche gained widespread fame in the 18th century, particularly in Paris where it became a staple in patisseries. The traditional “brioche à tête” shape—with a small ball atop a larger one—became iconic and is still recognized today as the classic brioche form.
Perhaps the most famous cultural reference to brioche comes from Marie Antoinette, who allegedly said “Let them eat brioche” when told that the French peasants had no bread. While historians debate whether she actually said this, the phrase has become synonymous with the bread’s status as a luxury item.
Today, brioche has evolved from a special-occasion bread to a versatile staple found in bakeries worldwide. Its unique position in the Viennoiserie category—bridging the gap between bread and pastry—makes it incredibly versatile. From breakfast toast to gourmet burger buns, from French toast to elegant bread puddings, brioche’s rich flavor and tender texture make it irreplaceable.
Regional variations exist throughout France and beyond. In Normandy, where butter production is legendary, brioche tends to be especially rich. In southern France, you might find brioche flavored with orange blossom water or local honey. Each region puts its own spin on this classic, but all share the same commitment to quality ingredients and careful technique.
Pairing Suggestions
Classic French Pairings
- Breakfast: Serve warm with butter and high-quality fruit preserves, or make decadent French toast
- Afternoon tea: Perfect with jam, clotted cream, or chocolate spread
- Dessert: Use as the base for luxurious bread pudding or pain perdu
- Savory applications: Excellent for gourmet sandwiches, especially with ham and cheese
Beverage Pairings
- Coffee: A strong café au lait or espresso complements brioche’s richness
- Tea: Black teas like Earl Grey or English Breakfast work well
- Wine: Champagne or sparkling wine for special occasions
- Milk: A simple glass of cold milk for a nostalgic breakfast treat
Seasonal Adaptations
- Spring: Serve with fresh berries and whipped cream
- Summer: Make into bread pudding with stone fruits like peaches or apricots
- Autumn: Pair with apple butter or spiced pear compote
- Winter: Toast and serve with warm chocolate sauce or spiced butter
Special Occasion Ideas
- Brunch gatherings: Make mini brioche rolls filled with savory or sweet fillings
- Holiday breakfast: Shape into a wreath or braid for festive presentation
- Dinner parties: Use as gourmet slider buns or serve alongside cheese boards
- Gift giving: Give a freshly baked loaf as a thoughtful homemade gift
Conclusion
Mastering the art of brioche making is a journey into the heart of French pastry tradition. This enriched bread represents the perfect balance of technique and indulgence, requiring patience and precision but rewarding you with results that far surpass anything you’ll find in a supermarket.
What makes this brioche recipe special is its foundation in traditional French techniques while providing clear, accessible instructions for modern home bakers. The gradual butter incorporation method ensures proper emulsification, while the controlled fermentation develops incredible flavor and texture. The result is a bread that’s rich yet light, with a tender crumb and golden crust that showcases the quality of your ingredients.
Whether you’re drawn to brioche for its versatility in both sweet and savory applications, its connection to French culinary heritage, or simply the irresistible combination of butter and eggs, this recipe will guide you through each step of the process. From mixing and kneading to shaping and baking, you’ll develop skills that will serve you in all your enriched bread baking.
We’d love to hear about your brioche baking adventures! Please leave a comment below sharing your experience, any variations you tried, or questions you might have. Don’t forget to rate the recipe and share photos of your beautiful creations on social media using the hashtags below.
Remember, brioche making is as much about the journey as the destination. Each batch teaches you something new about dough development, ingredient temperatures, and the delicate balance that creates this extraordinary bread. Embrace the process, learn from each bake, and enjoy the incredible satisfaction of creating true French brioche in your own kitchen.
Happy baking, and may your kitchen be filled with the irresistible aroma of freshly baked brioche!